Introduction to DIY Concrete Staining
Concrete staining is a fantastic way to enhance the aesthetics of your home surfaces, offering a polished and chic look that can elevate any space. Whether you are looking to update your patio, garage floor, or interior surfaces, DIY concrete staining is an accessible project for beginners. In this guide, we will walk you through the process, focusing on the needs of homeowners in The Woodlands, Texas. You'll discover how to achieve professional results with minimal stress.
Why Concrete Staining?
Concrete staining offers several benefits that make it a popular choice among homeowners:
- Durability: Stained concrete surfaces are highly durable, making them ideal for high-traffic areas.
- Aesthetic Appeal: With a variety of colors and finishes available, stained concrete can mimic the look of more expensive materials.
- Cost-Effective: Compared to other flooring solutions, concrete staining is budget-friendly, especially when done DIY.
- Low Maintenance: Stained concrete is easy to clean and maintain, making it perfect for busy households.
Materials and Tools You'll Need
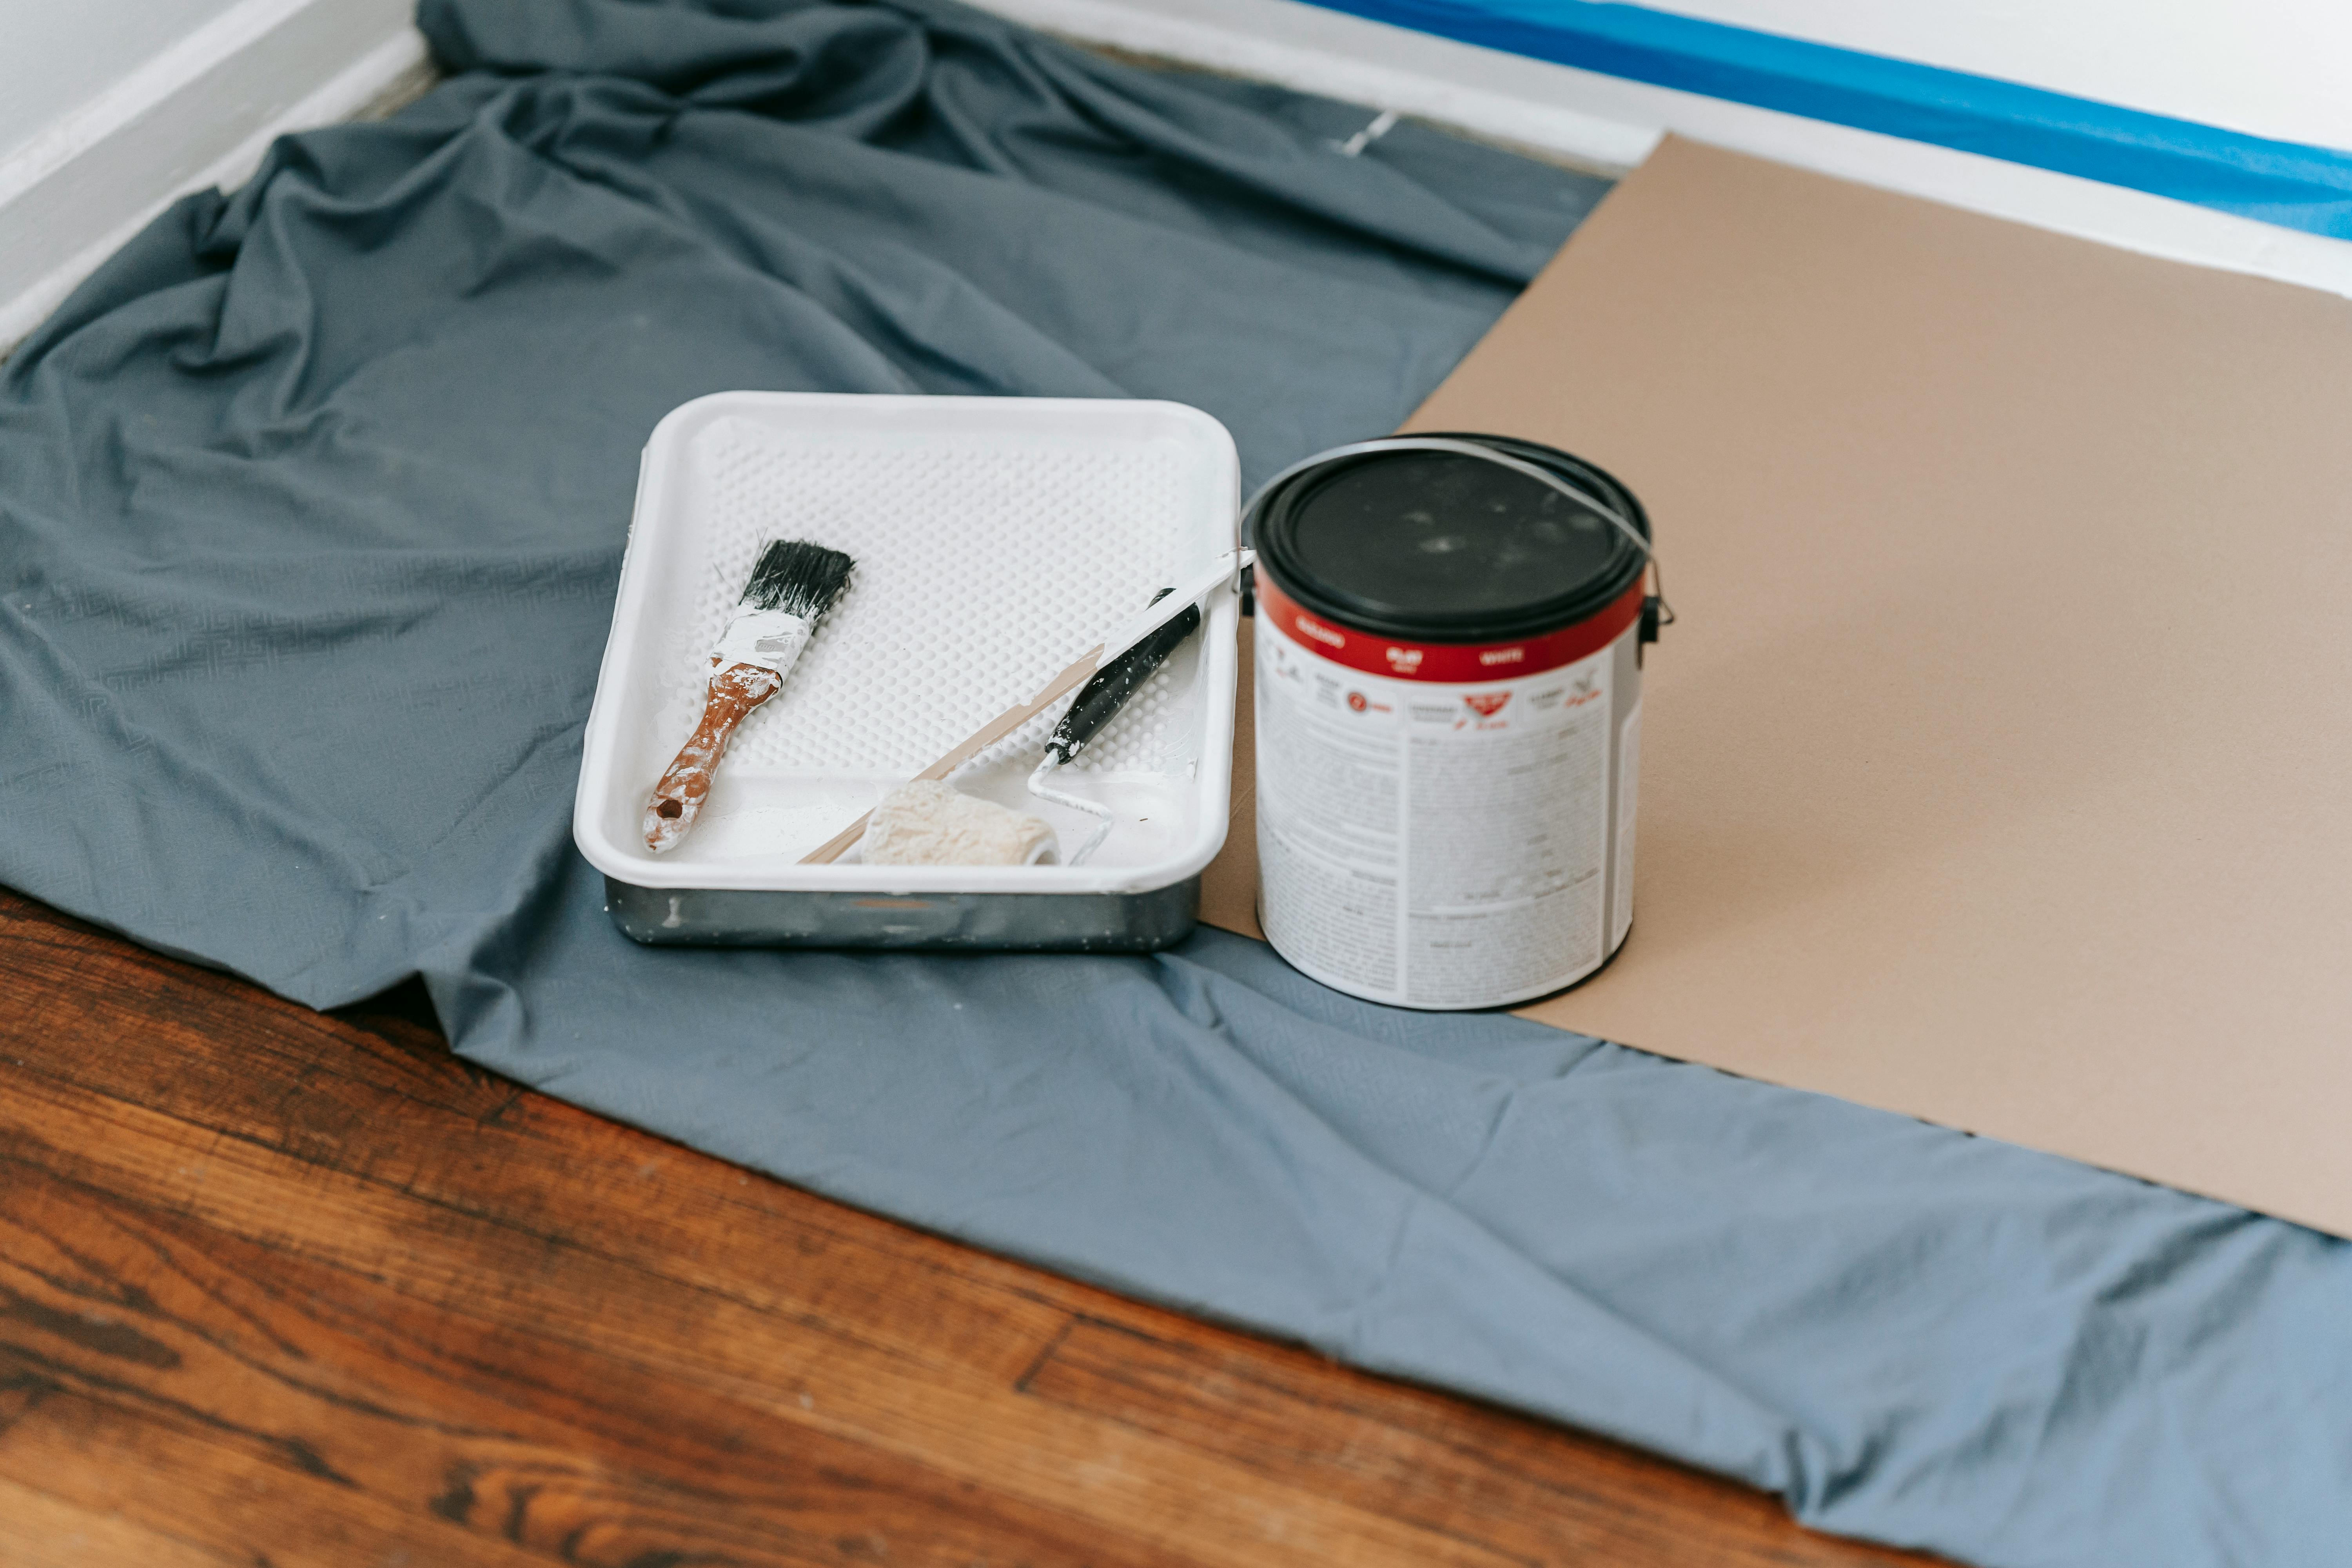
Before starting your project, gather the following materials and tools:
- Concrete cleaner
- Concrete stain (acid-based or water-based)
- Paint rollers or sprayer
- Protective gear (gloves, goggles, mask)
- Painter's tape
- Sealant
- Brushes for edges
Step-by-Step Guide to Concrete Staining
Step 1: Prepare the Surface
Start by thoroughly cleaning the concrete surface. Use a concrete cleaner to remove any dirt, grease, or oil stains. This step is crucial as any residue can affect the stain's adhesion and appearance. Allow the surface to dry completely before proceeding.
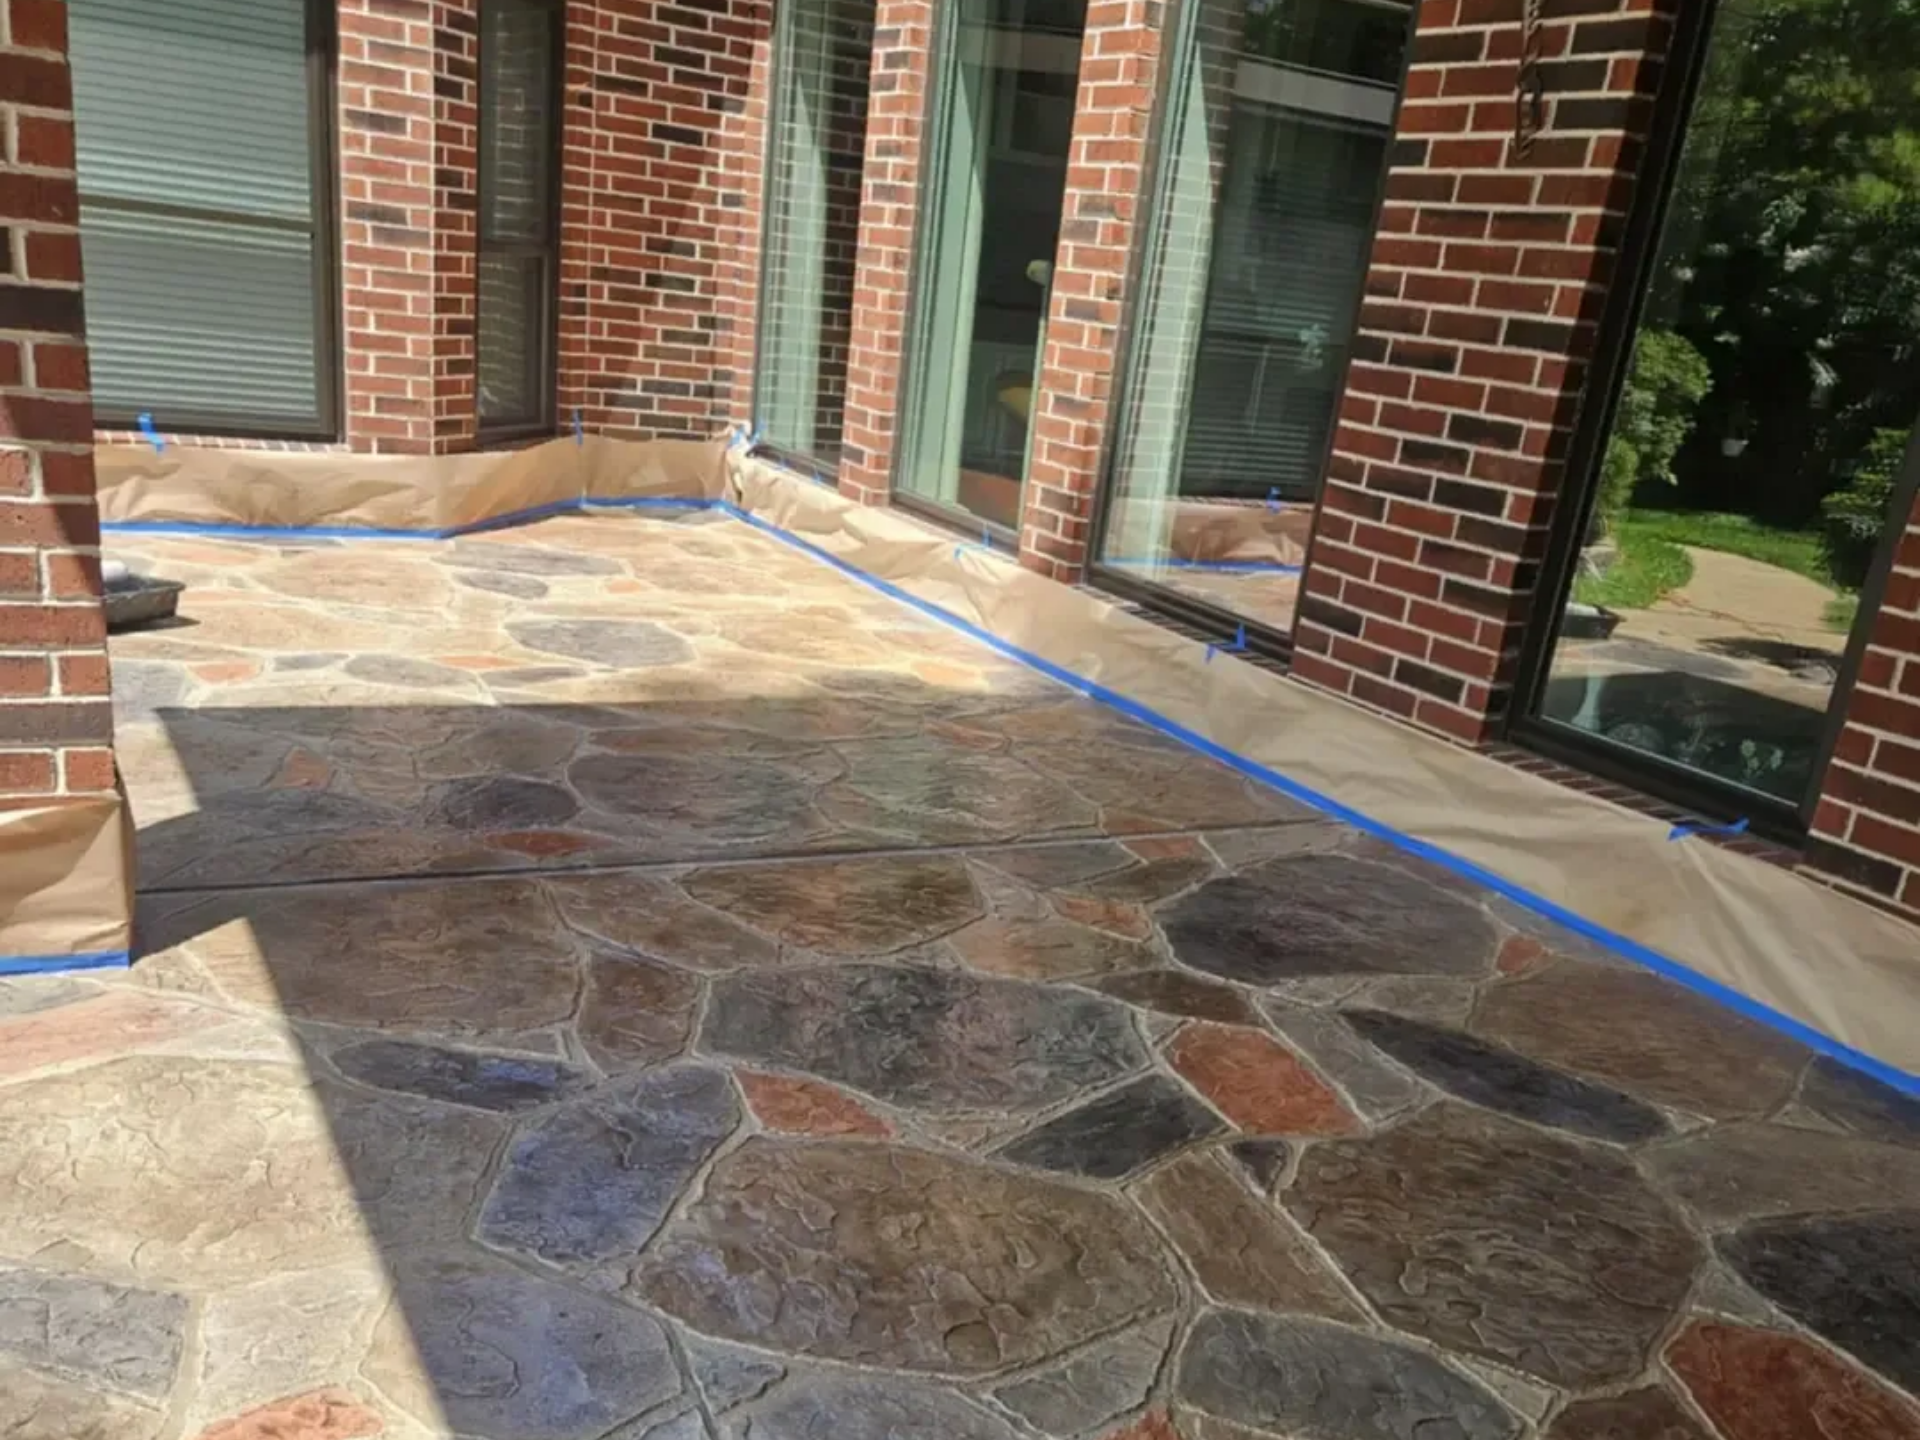
Step 2: Mask Off Areas
Use painter's tape to cover areas you do not wish to stain, such as walls or adjacent flooring. This will ensure clean lines and prevent accidental staining.
Step 3: Apply the Stain
Choose between an acid-based or water-based stain, depending on your desired look and maintenance preferences. Apply the stain using a paint roller for large areas or a sprayer for more even coverage. Begin at one end of the surface and work your way across, ensuring consistent application.
Step 4: Allow the Stain to Set
Once applied, allow the stain to react with the concrete. This process can take anywhere from 4 to 24 hours, depending on the stain type and ambient conditions. Refer to the stain manufacturer's instructions for specific timing.
Step 5: Neutralize and Rinse (for Acid Stains)
If you used an acid-based stain, neutralize the surface with a mixture of baking soda and water. Rinse thoroughly with clean water to remove any residue.
Step 6: Seal the Surface
Once the surface is completely dry, apply a concrete sealant to protect the stain and enhance its longevity. This step is essential for maintaining the stained surface's appearance over time.
Tips for Success
- Test First: Always test the stain on a small, inconspicuous area to ensure you achieve the desired color.
- Work in Sections: Divide large areas into manageable sections to ensure even application and avoid streaks.
- Safety First: Wear protective gear throughout the process to prevent skin and eye irritation from chemicals.
Conclusion
DIY concrete staining can transform your home's surfaces with minimal investment and effort. By following this beginner-friendly guide, homeowners in The Woodlands can achieve stunning, professional-quality results. Remember, preparation is key, and patience during the staining and curing process will reward you with beautiful, durable surfaces that enhance your home's appeal. If you need professional assistance or are keen on exploring more advanced techniques, Houston Concrete Staining is always here to help!
Get in Touch
For more tips or professional concrete services in The Woodlands, Texas, contact us at Houston Concrete Staining. Our team of experts is ready to assist with all your concrete needs, ensuring your home looks its best now and in the future.